Heritage Reimagined
Pioneering Terracotta Excellence, Blending Tradition with Innovation.
The many faces of Clay!
Burnt clay is the foundation of terracotta, a versatile material used in a wide array of products, from building components and household items to decorative accents.
Wet Clay Technique
This traditional approach involves grinding clay to a precise moisture level, eliminating air pockets, and shaping it through a combination of pressing and extrusion.
Powdered Clay Method
In this advanced process, pulverized clay is carefully moisturized and pressed into intricate forms.

01
Roofing Tile Installation
Best Practices for a secure and long-lasting installation
• Common Fixing Materials: Standard cement and fixtures can be used for a straightforward installation.
• Curing is Key: Adequate curing is crucial to ensure the durability and performance of your roofing tiles.
02
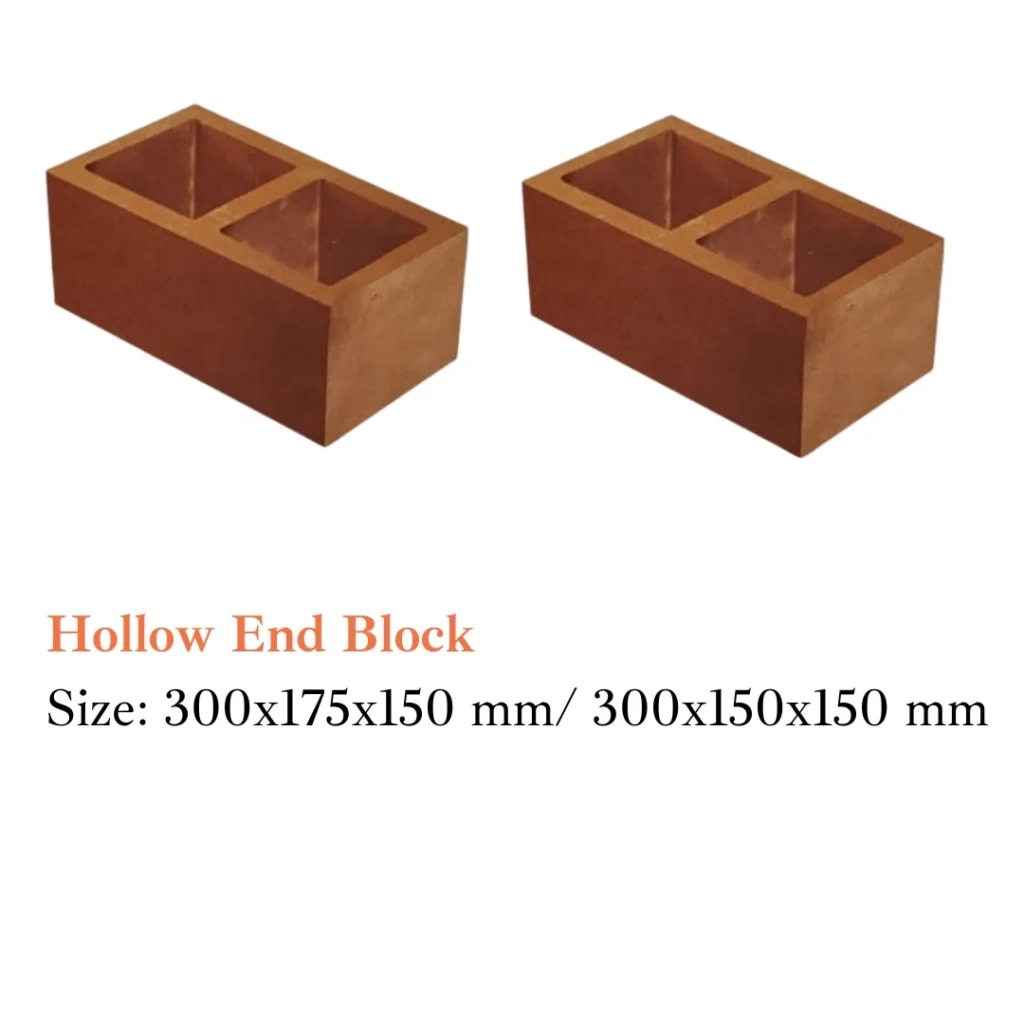
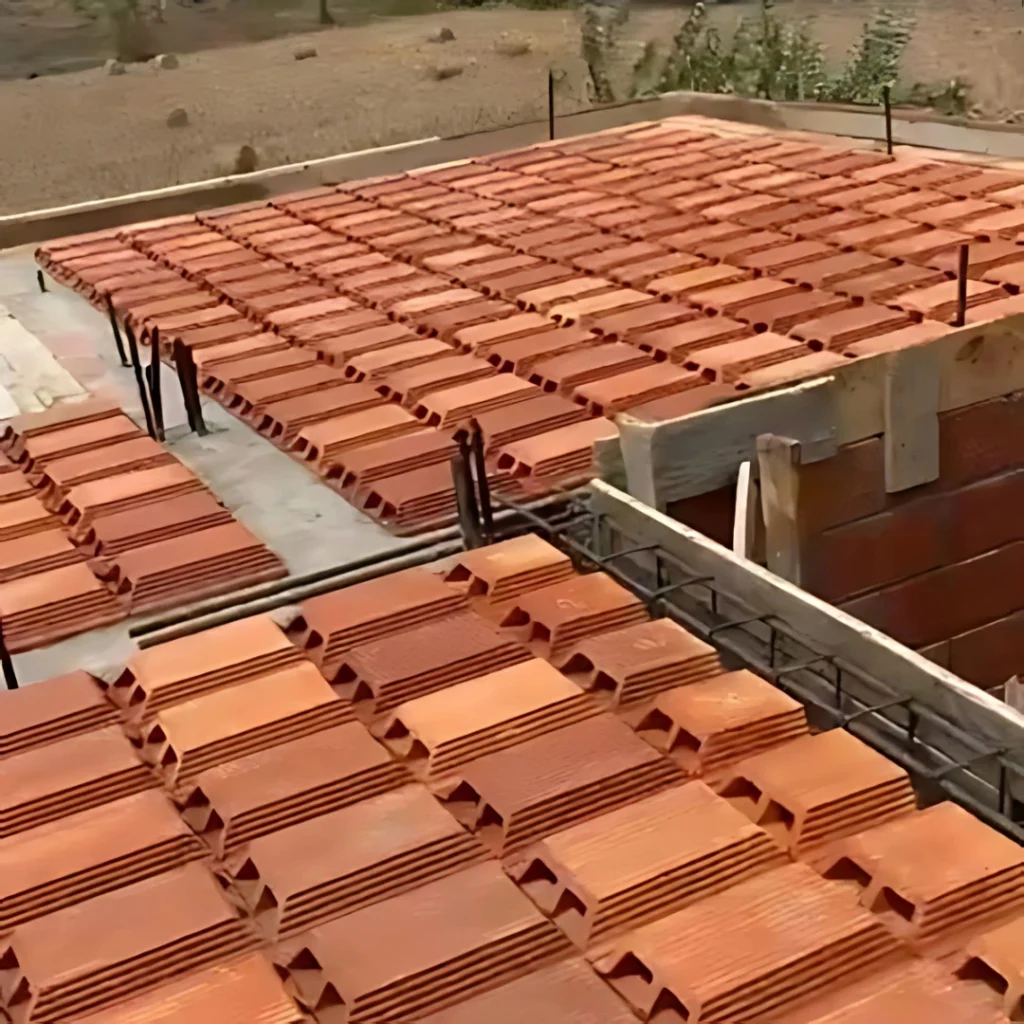
Roofing Blocks
( a ) Channel Block Installation Guidelines
Precise Channel Casting
Ensure the channel is precast with perfect levelness and straightness.
Careful Block Placement
Pre-Concrete Preparation
Post-Concrete Care
( b ) 14x9x2.5( Maruthi Blocks) Installation Guidelines
Level Surface Preparation
Lay blocks on a level surface, with a uniform sand spread.
Adequate Socking
Controlled Watering
Joint Preparation
Effective Curing
03
Wall Bricks
Best Practices for Wall Bricks
Proper Curing
Provide adequate curing to prevent cracking and promote strength.
Skilled Workforce
Reinforced Corners
04
Wall Tiles
Wall Tile Installation Essentials
Double-Check Socking
Ensure thorough socking to prevent unevenness.
Proper Curing
Flexible Fixing Options


05
Floor Tiles
Floor Tile Installation and Maintenance:
Seal Floor Concrete
Ensure complete closure of pores on the floor concrete to prevent damage.
Waterproofing Recommended
Accommodate Size Variation
Post-Installation Care
– Prevent drying out
– Remove excess color and material residue from pointing
Product gallery
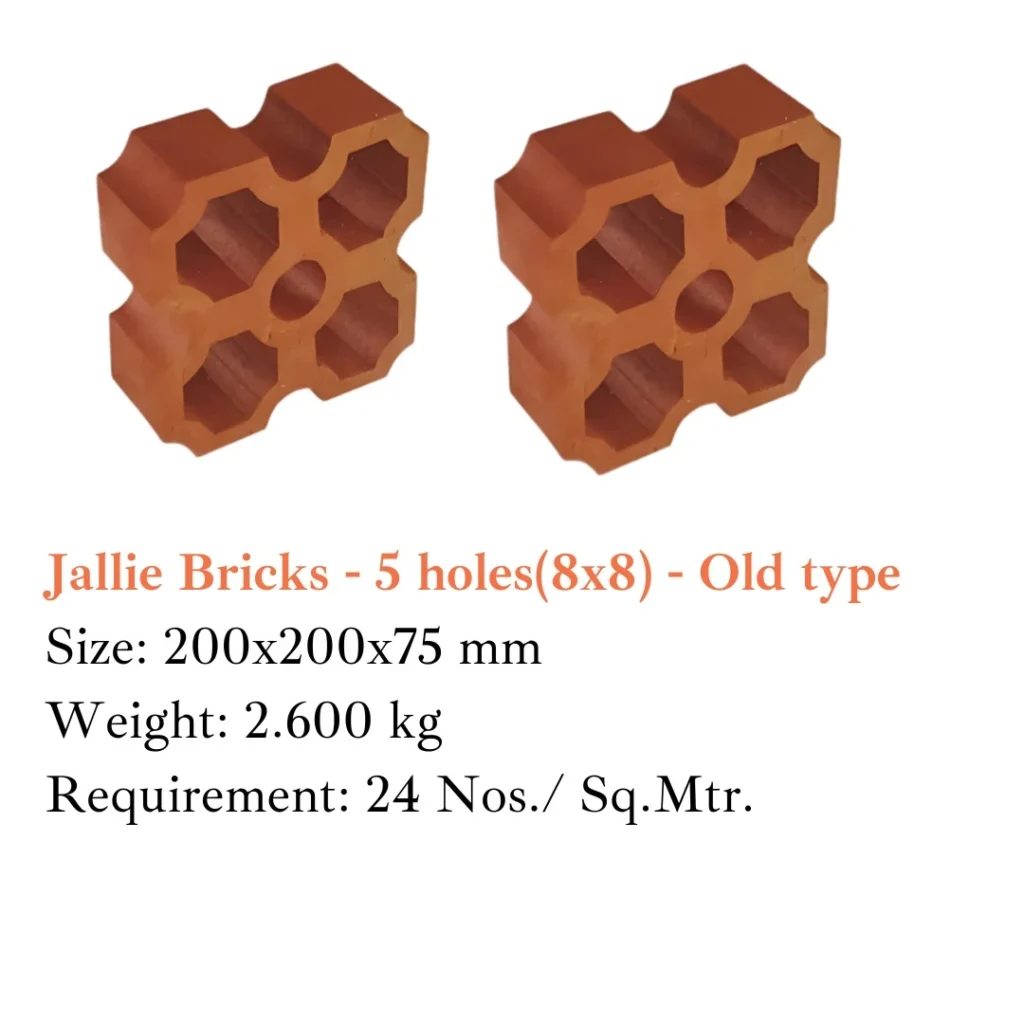
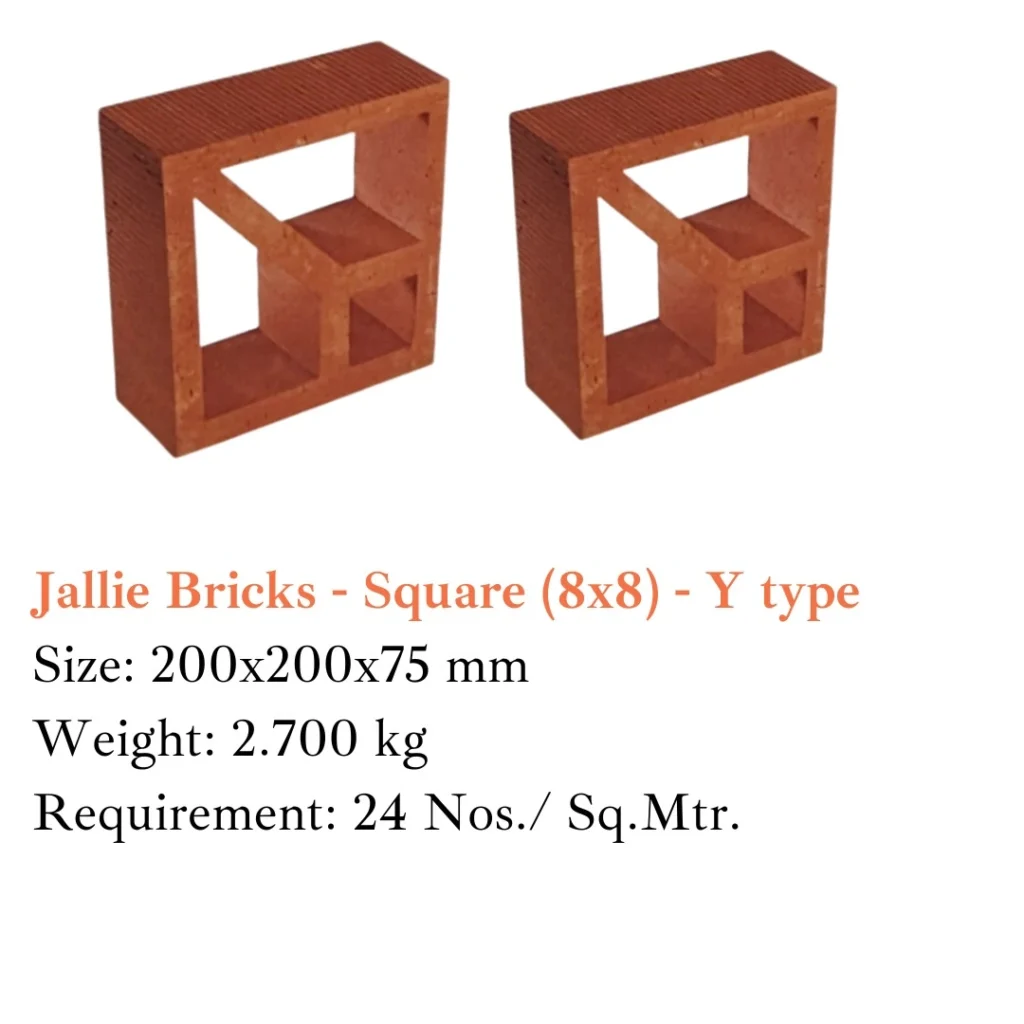
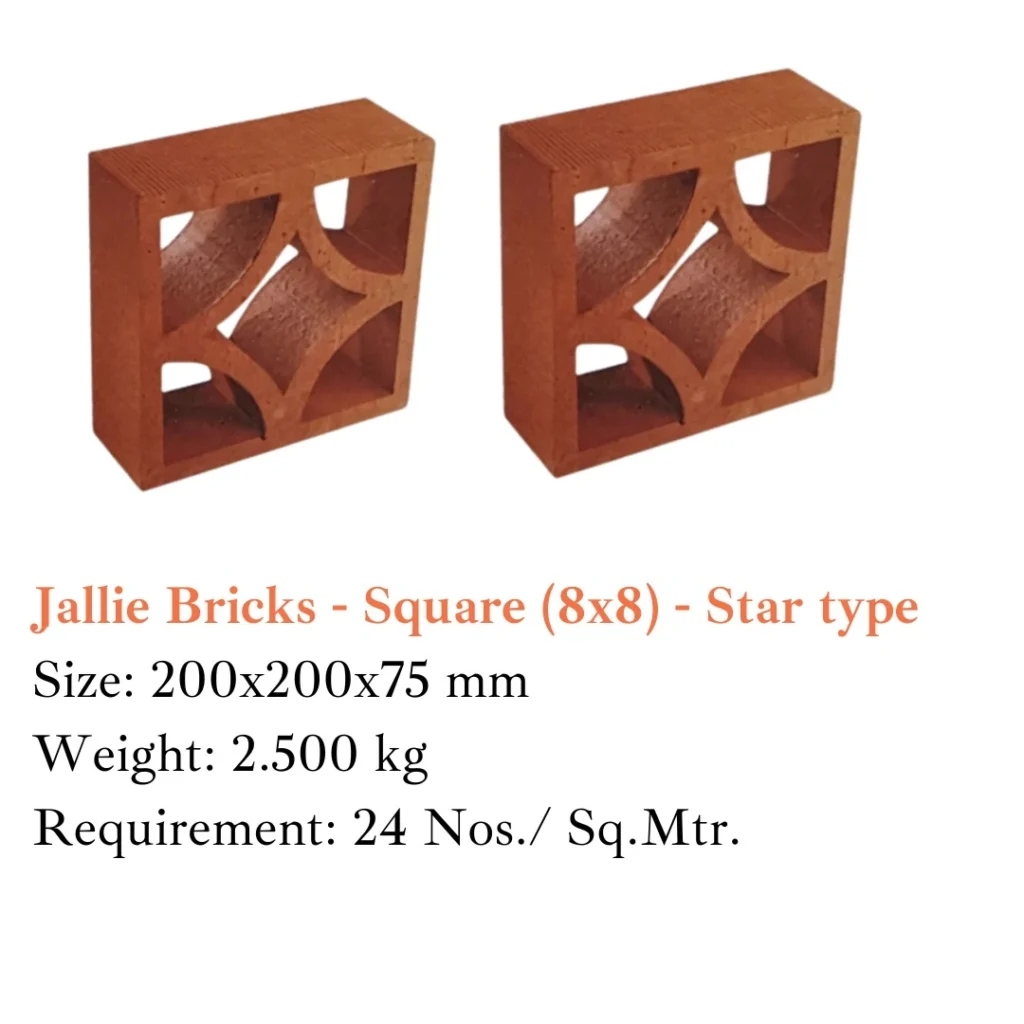
JALLIE BRICKS


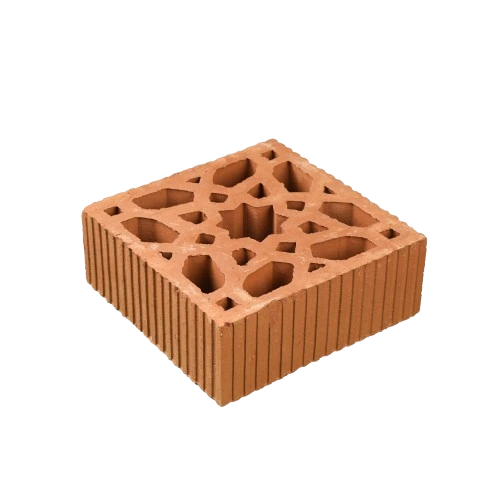


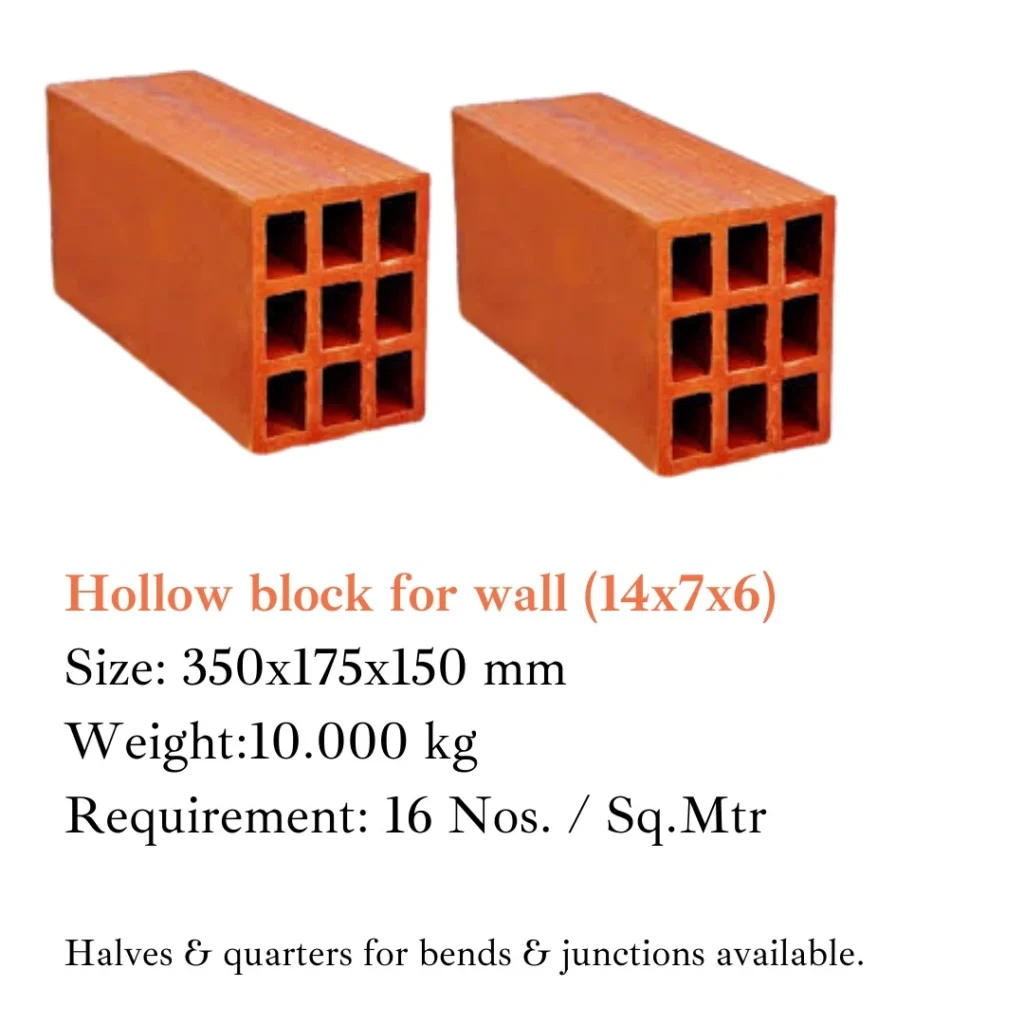
WALL BRICKS


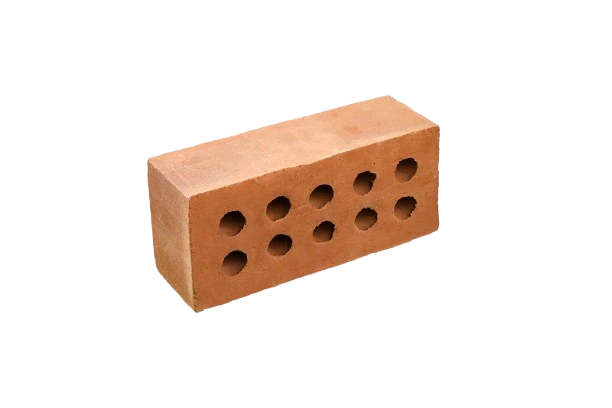
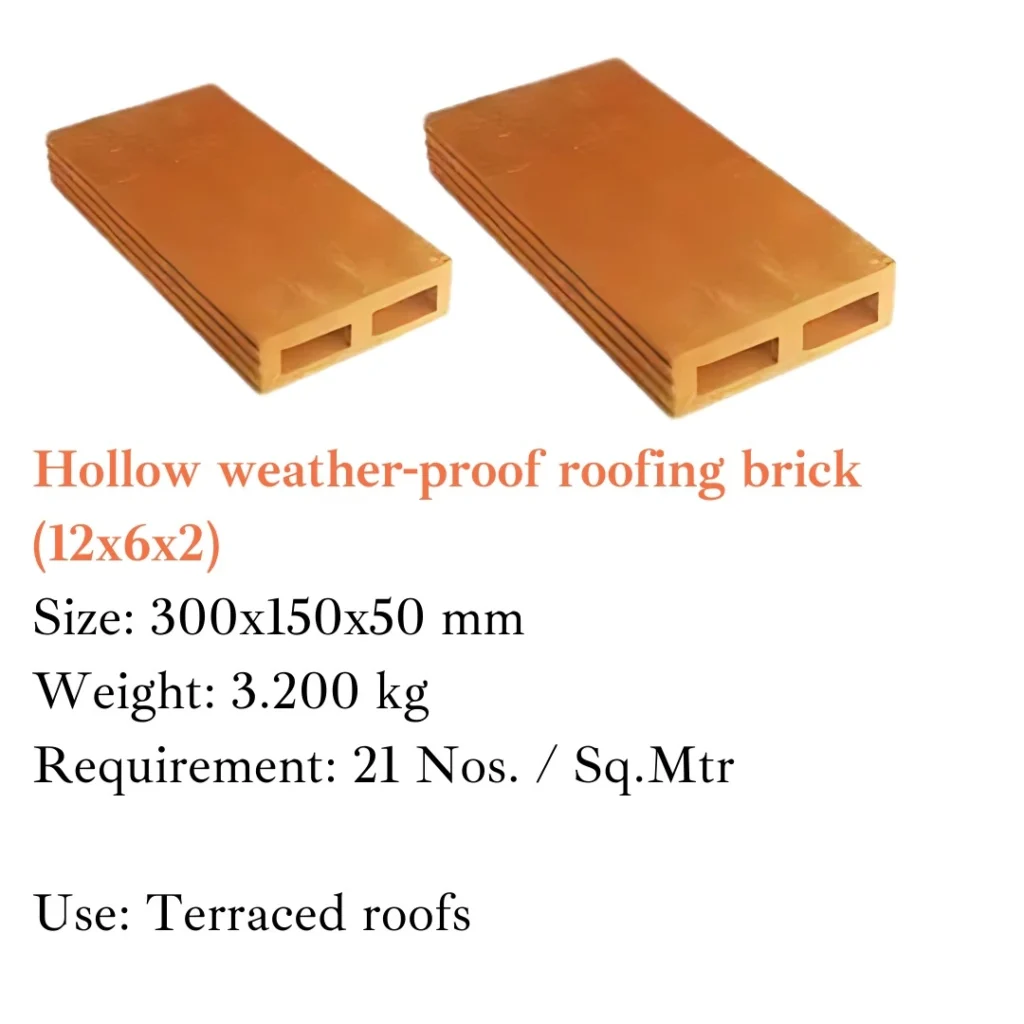
ROOFING TILES


CEILING TILES


Our Products.
